Microsoft Bookings is a scheduling tool that allows businesses to manage and accept appointments from customers. It helps customers to schedule appointments, and businesses to manage their schedules, manage appointments and communicate with customers.
In July last year, Microsoft released a new capability called “ Microsoft Bookings with Me”, a personal scheduling app that helps individuals to schedule appointments and manage their schedules.
The difference between Microsoft Bookings and Microsoft Bookings with Me is that Microsoft Bookings is meant for businesses or teams, while Microsoft Bookings with Me is for individual users who want to manage their appointments and schedule meetings efficiently.
What are the advantages of Microsoft Bookings with me?
Bookings with me is available in all the following subscriptions:
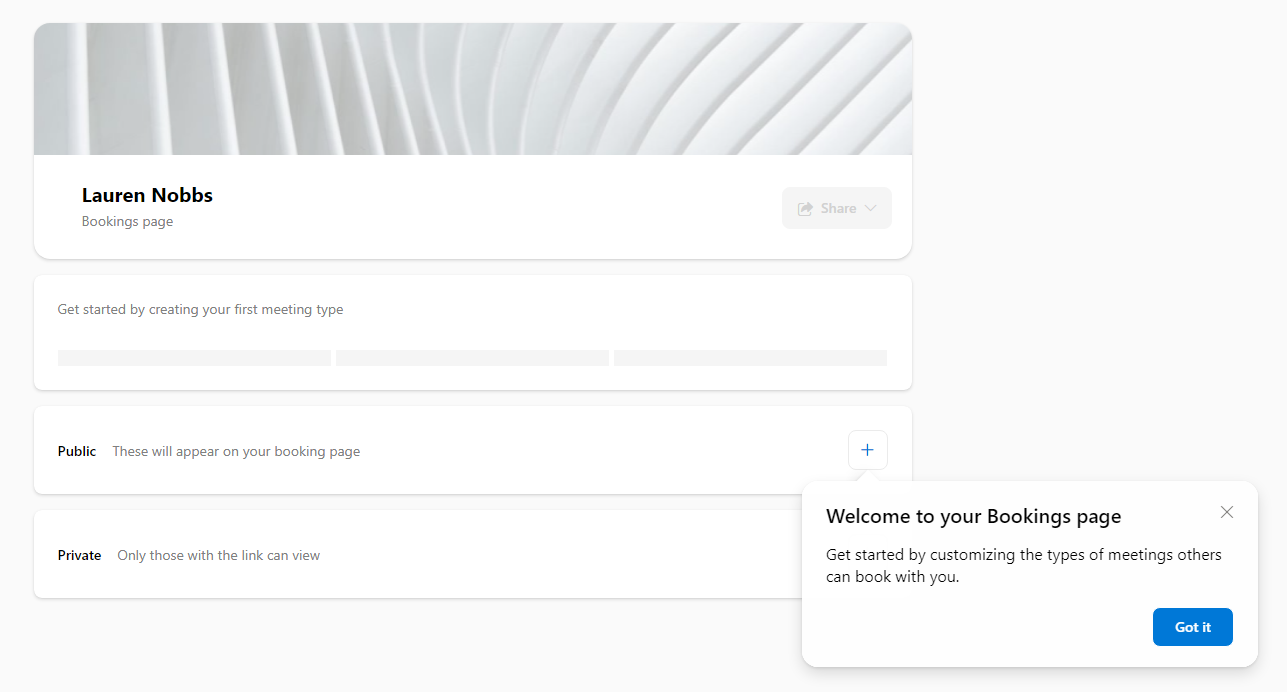
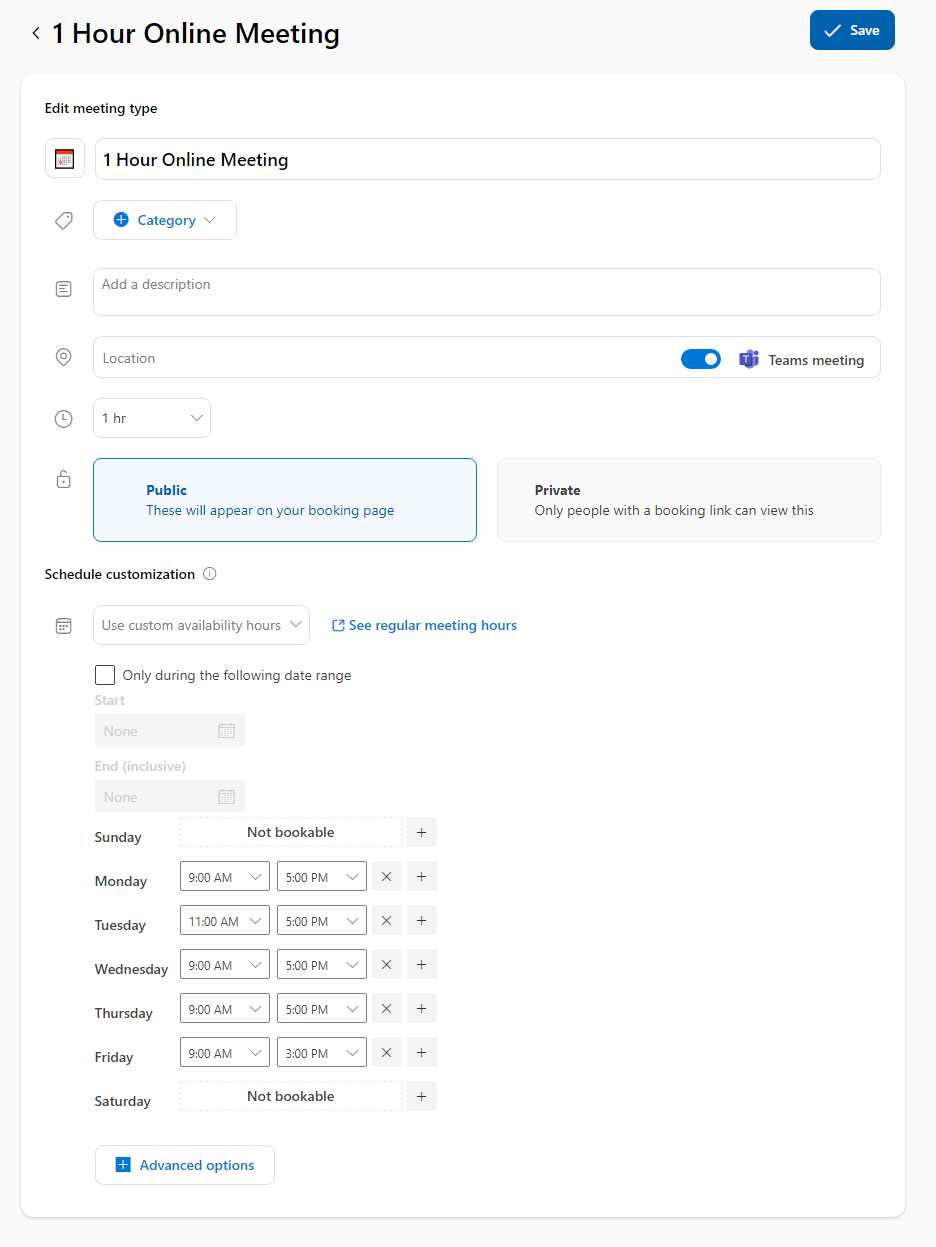
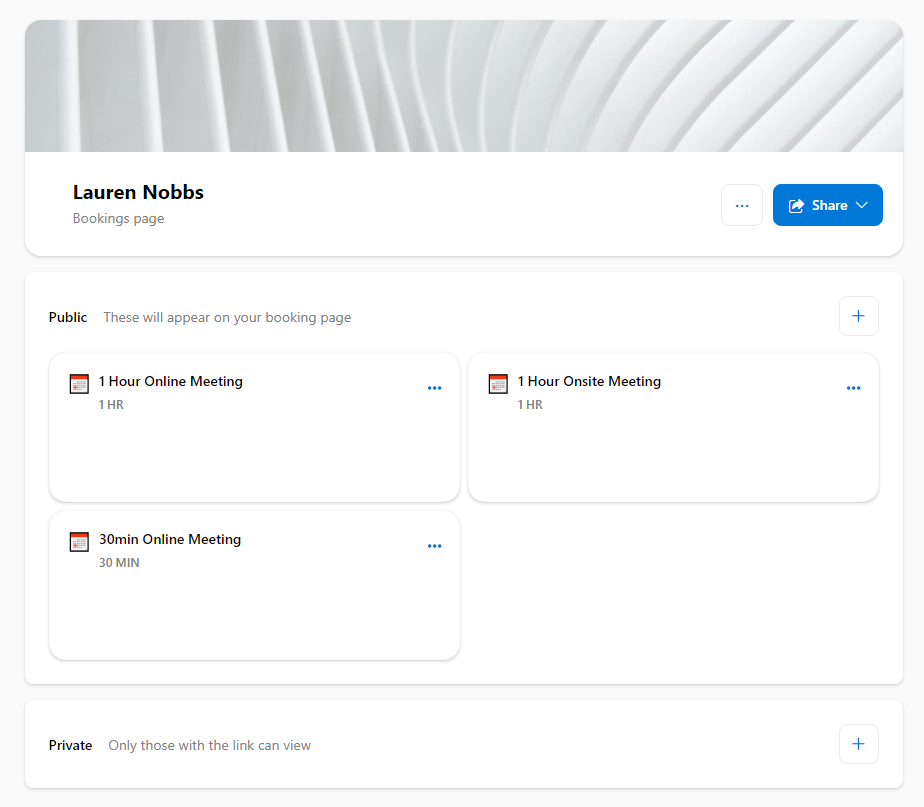
Public meetings can be viewed and scheduled by anyone that has your Bookings with me page link. You are in control of who you share that link with. All public meeting types will be visible to anyone that has your Bookings with me page link.
Private meetings can only be viewed by people who have the link for that meeting type. The difference between public meetings and private meetings is private meetings can have different links and the links expire after 90 days. You can also set private links to expire after a one-time booking. When accessing the scheduling view for a private meeting, only that meeting type will be visible.
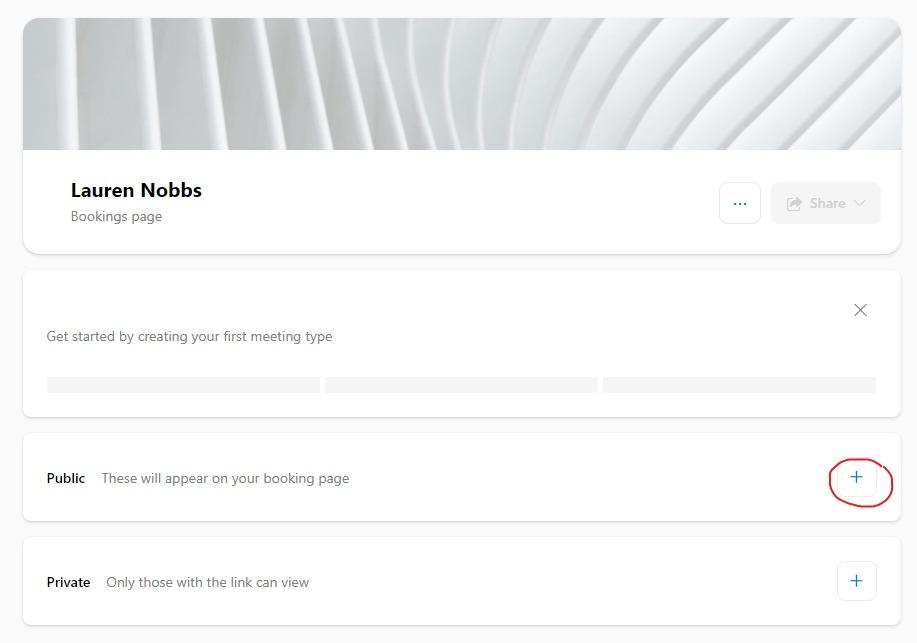
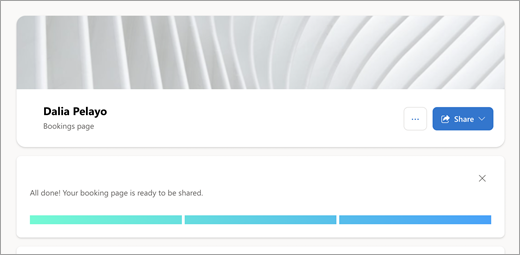
Note: When you first set up Bookings with me, it may take some processing time to complete the creation of your bookings page. The share button will be greyed out until the creation is completed. When the progress bar is fully coloured (below), or the progress bar has disappeared, the Share button with be enabled and you can starting use the bookings calendar.
When you click on the ‘Share’ button, there is 3 options:
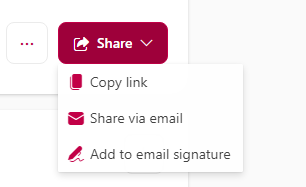
Copy link: Copies the link to your clipboard, you can paste the link in a Teams message, email etc
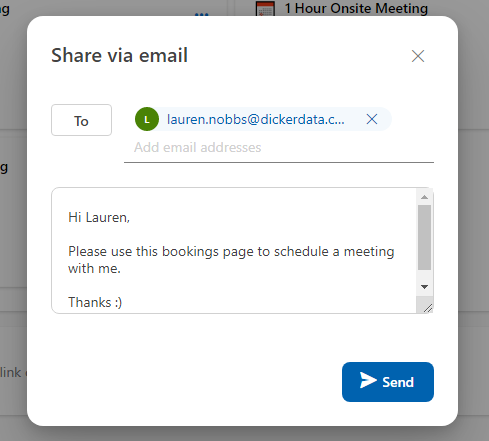
Share via email: A ‘Share via email’ window will pop up. Enter the client’s email address and a message and click ‘Send’
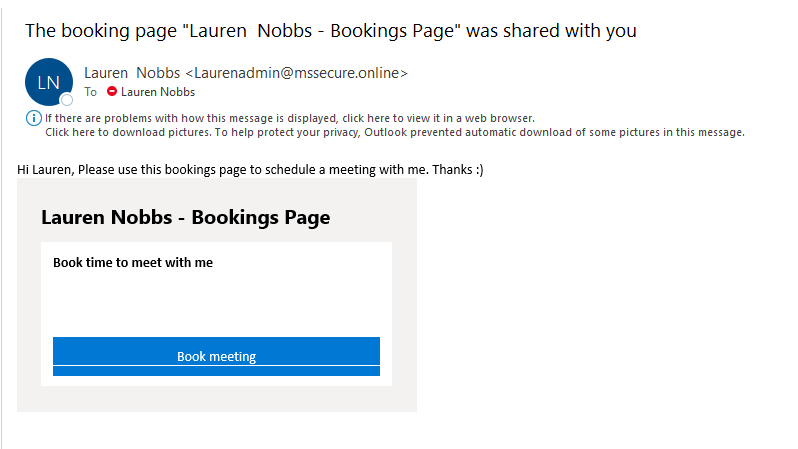
The email they receive will look like this:
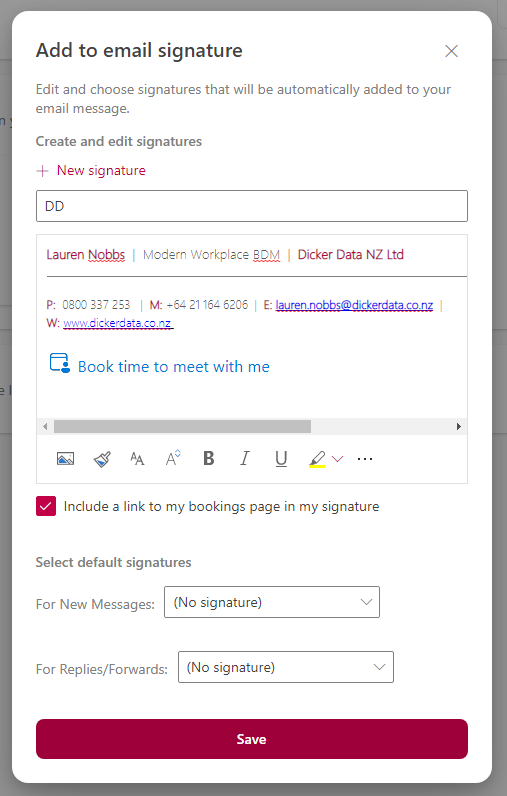
Add to email signature:
You will need to create a new email signature. Tick the ‘Include a link to my bookings page in my signature’ and the ‘Book time to meet with me’ link will automatically be added to the signature.
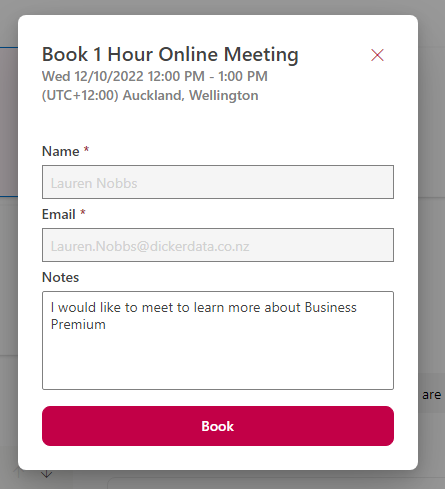
The attendee view is what your clients will see when you share your bookings page with them. They can select the meeting type, date and time that suits them.
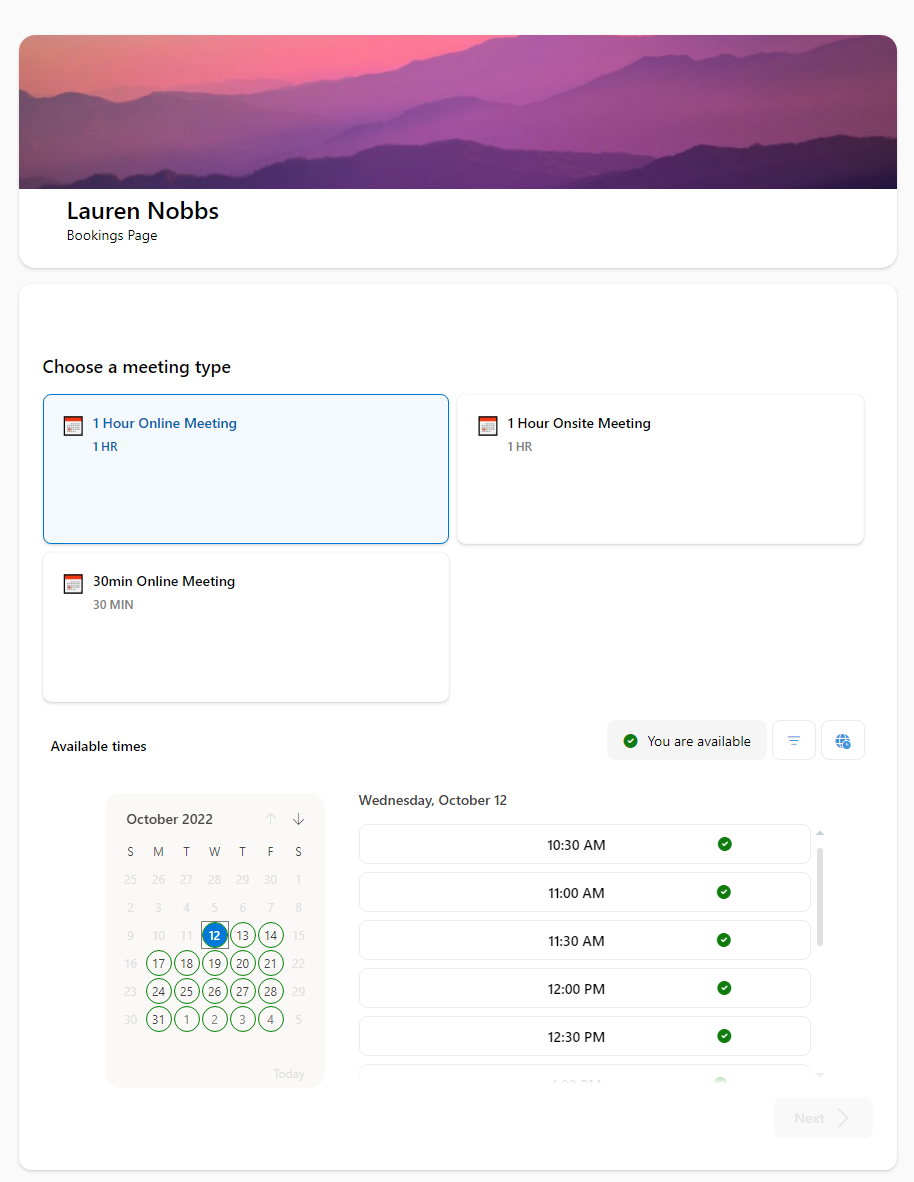
When they select a time and click Next, they will be prompted to enter their name and email address and any additional notes about why they are booking the meeting. If they are already signed in with their Microsoft work account, their name and email address will be auto filled for them.
If they are not already signed in, when they open the bookings page, they will be prompted to either sign in with their Microsoft Work or School account or continue as a guest.
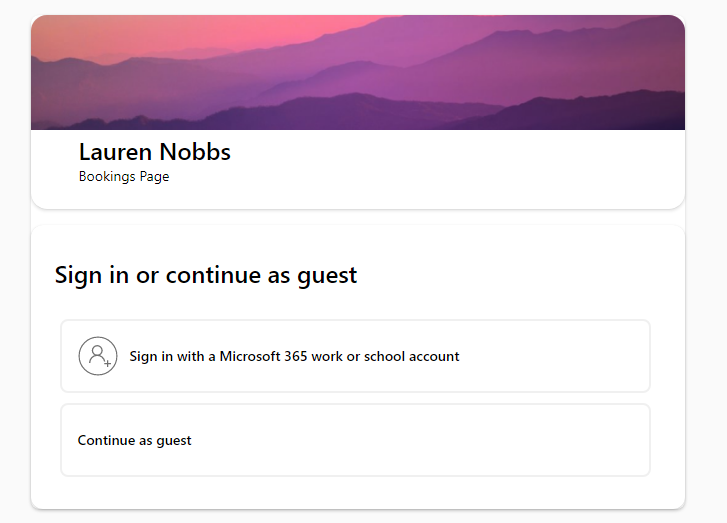
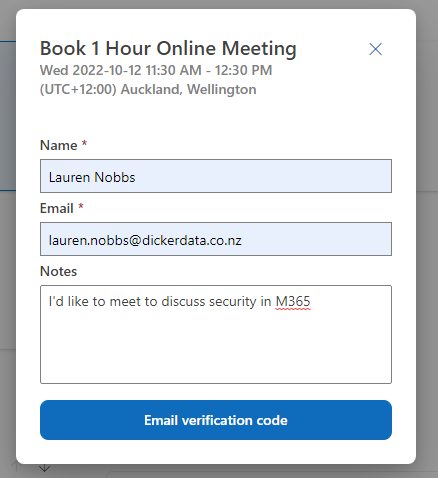
If they choose to continue as a guest, they will need to enter their name and email address and select ‘Email verification code’.
A verification code will be sent to them via email. If they cannot see the email, make sure to check the junk folder (it went to junk for me).
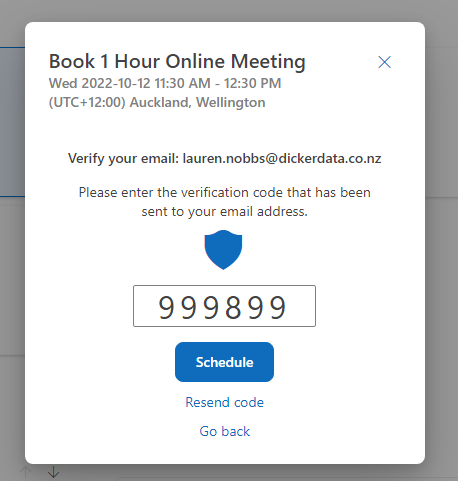
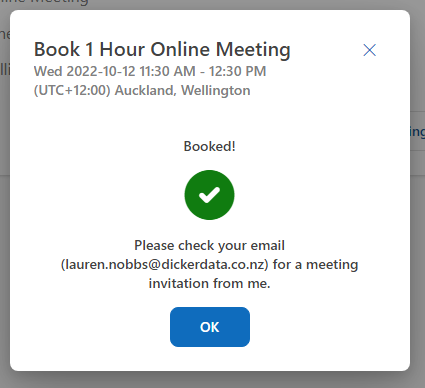
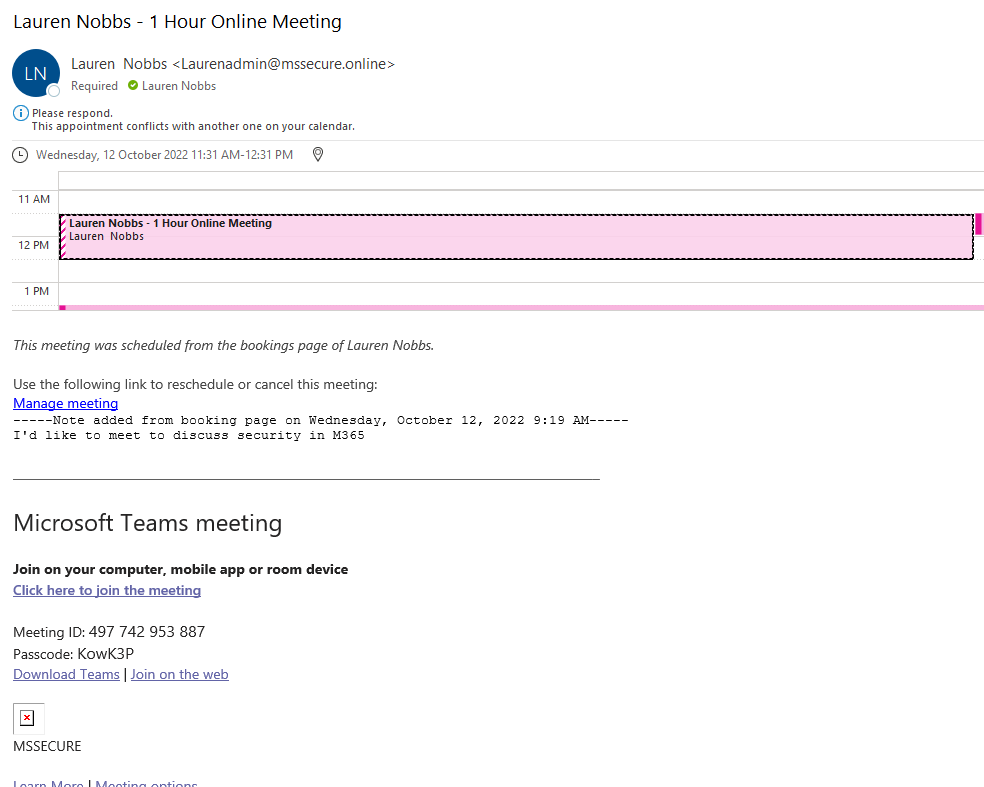
Once the verification is complete, the meeting will be booked, and the client will receive a confirmation email with the calendar appointment.
If you require any further assistance with this, please feel free to reach out to one of our friendly team at Ultra IT.